


本文详细介绍了如何在 Kubernetes 集群中部署 ceph-csi(v3.1.0),并使用 RBD 作为持久化存储。
需要的环境参考下图:
本文使用的环境版本信息:
Kubernetes 版本:
$ kubectl get node
NAME       STATUS   ROLES    AGE   VERSION
sealos01   Ready    master   23d   v1.18.8
sealos02   Ready    master   23d   v1.18.8
sealos03   Ready    master   23d   v1.18.8
Ceph 版本:
$ ceph version
ceph version 14.2.11 (f7fdb2f52131f54b891a2ec99d8205561242cdaf) nautilus (stable)
以下是详细部署过程:
1. 新建 Ceph Pool#
创建一个新的 ceph 存储池(pool) 给 Kubernetes 使用:
$ ceph osd pool create kubernetes

pool ' kubernetes' created
查看所有的 pool:
$ ceph osd lspools

1 cephfs_data
2 cephfs_metadata
3 .rgw.root
4 default.rgw.control
5 default.rgw.meta
6 default.rgw.log
7 kubernetes
2. 新建用户#
为 Kubernetes 和 ceph-csi 单独创建一个新用户:
$ ceph auth get-or-create client.kubernetes mon 'profile rbd' osd 'profile rbd pool=kubernetes' mgr 'profile rbd pool=kubernetes'

[client.kubernetes]
    key = AQBnz11fclrxChAAf8TFw8ROzmr8ifftAHQbTw==
后面的配置需要用到这里的 key,如果忘了可以通过以下命令来获取:
$ ceph auth get client.kubernetes
exported keyring for client.kubernetes
[client.kubernetes]
	key = AQBnz11fclrxChAAf8TFw8ROzmr8ifftAHQbTw==
	caps mgr = "profile rbd pool=kubernetes"
	caps mon = "profile rbd"
	caps osd = "profile rbd pool=kubernetes"
3. 部署 ceph-csi#
拉取 ceph-csi 的最新 release 分支(v3.1.0):
$ git clone --depth 1 --branch v3.1.0 https://gitclone.com/github.com/ceph/ceph-csi
- 这里使用 gitclone 来加速拉取。
修改 Configmap#
获取 Ceph 集群的信息:
$ ceph mon dump

dumped monmap epoch 1
epoch 1
fsid 154c3d17-a9af-4f52-b83e-0fddd5db6e1b
last_changed 2020-09-12 16:16:53.774567
created 2020-09-12 16:16:53.774567
min_mon_release 14 (nautilus)
0: [v2:172.16.1.21:3300/0,v1:172.16.1.21:6789/0] mon.sealos01
1: [v2:172.16.1.22:3300/0,v1:172.16.1.22:6789/0] mon.sealos02
2: [v2:172.16.1.23:3300/0,v1:172.16.1.23:6789/0] mon.sealos03
这里需要用到两个信息:
- fsid : 这个是 Ceph 的集群 ID。
- 监控节点信息。目前 ceph-csi 只支持
v1版本的协议,所以监控节点那里我们只能用v1的那个 IP 和端口号(例如,172.16.1.21:6789)。
进入 ceph-csi 的 deploy/rbd/kubernetes 目录:
$ cd deploy/rbd/kubernetes

$ ls -l ./
total 36
-rw-r--r-- 1 root root  100 Sep 14 04:49 csi-config-map.yaml
-rw-r--r-- 1 root root 1686 Sep 14 04:49 csi-nodeplugin-psp.yaml
-rw-r--r-- 1 root root  858 Sep 14 04:49 csi-nodeplugin-rbac.yaml
-rw-r--r-- 1 root root 1312 Sep 14 04:49 csi-provisioner-psp.yaml
-rw-r--r-- 1 root root 3105 Sep 14 04:49 csi-provisioner-rbac.yaml
-rw-r--r-- 1 root root 5497 Sep 14 04:49 csi-rbdplugin-provisioner.yaml
-rw-r--r-- 1 root root 5852 Sep 14 04:49 csi-rbdplugin.yaml
将以上获取的信息写入 csi-config-map.yaml:
---
apiVersion: v1
kind: ConfigMap
data:
  config.json: |-
    [
      {
        "clusterID": "154c3d17-a9af-4f52-b83e-0fddd5db6e1b",
        "monitors": [
          "172.16.1.21:6789",
          "172.15.1.22:6789",
          "172.16.1.23:6789"
        ]
      }
    ]
metadata:
  name: ceph-csi-config
创建一个新的 namespace 专门用来部署 ceph-csi:
$ kubectl create ns ceph-csi
将此 Configmap 存储到 Kubernetes 集群中:
$ kubectl -n ceph-csi apply -f csi-config-map.yaml
新建 Secret#
使用创建的 kubernetes 用户 ID 和 cephx 密钥生成 Secret:
cat <<EOF > csi-rbd-secret.yaml
apiVersion: v1
kind: Secret
metadata:
  name: csi-rbd-secret
  namespace: ceph-csi
stringData:
  userID: kubernetes
  userKey: AQBnz11fclrxChAAf8TFw8ROzmr8ifftAHQbTw==
EOF
部署 Secret:
$ kubectl apply -f csi-rbd-secret.yaml
RBAC 授权#
将所有配置清单中的 namespace 改成 ceph-csi:
$ sed -i "s/namespace: default/namespace: ceph-csi/g" $(grep -rl "namespace: default" ./)
$ sed -i -e "/^kind: ServiceAccount/{N;N;a\  namespace: ceph-csi  # 输入到这里的时候需要按一下回车键,在下一行继续输入
  }" $(egrep -rl "^kind: ServiceAccount" ./)
创建必须的 ServiceAccount 和 RBAC ClusterRole/ClusterRoleBinding 资源对象:
$ kubectl create -f csi-provisioner-rbac.yaml
$ kubectl create -f csi-nodeplugin-rbac.yaml
创建 PodSecurityPolicy:
$ kubectl create -f csi-provisioner-psp.yaml
$ kubectl create -f csi-nodeplugin-psp.yaml
部署 CSI sidecar#
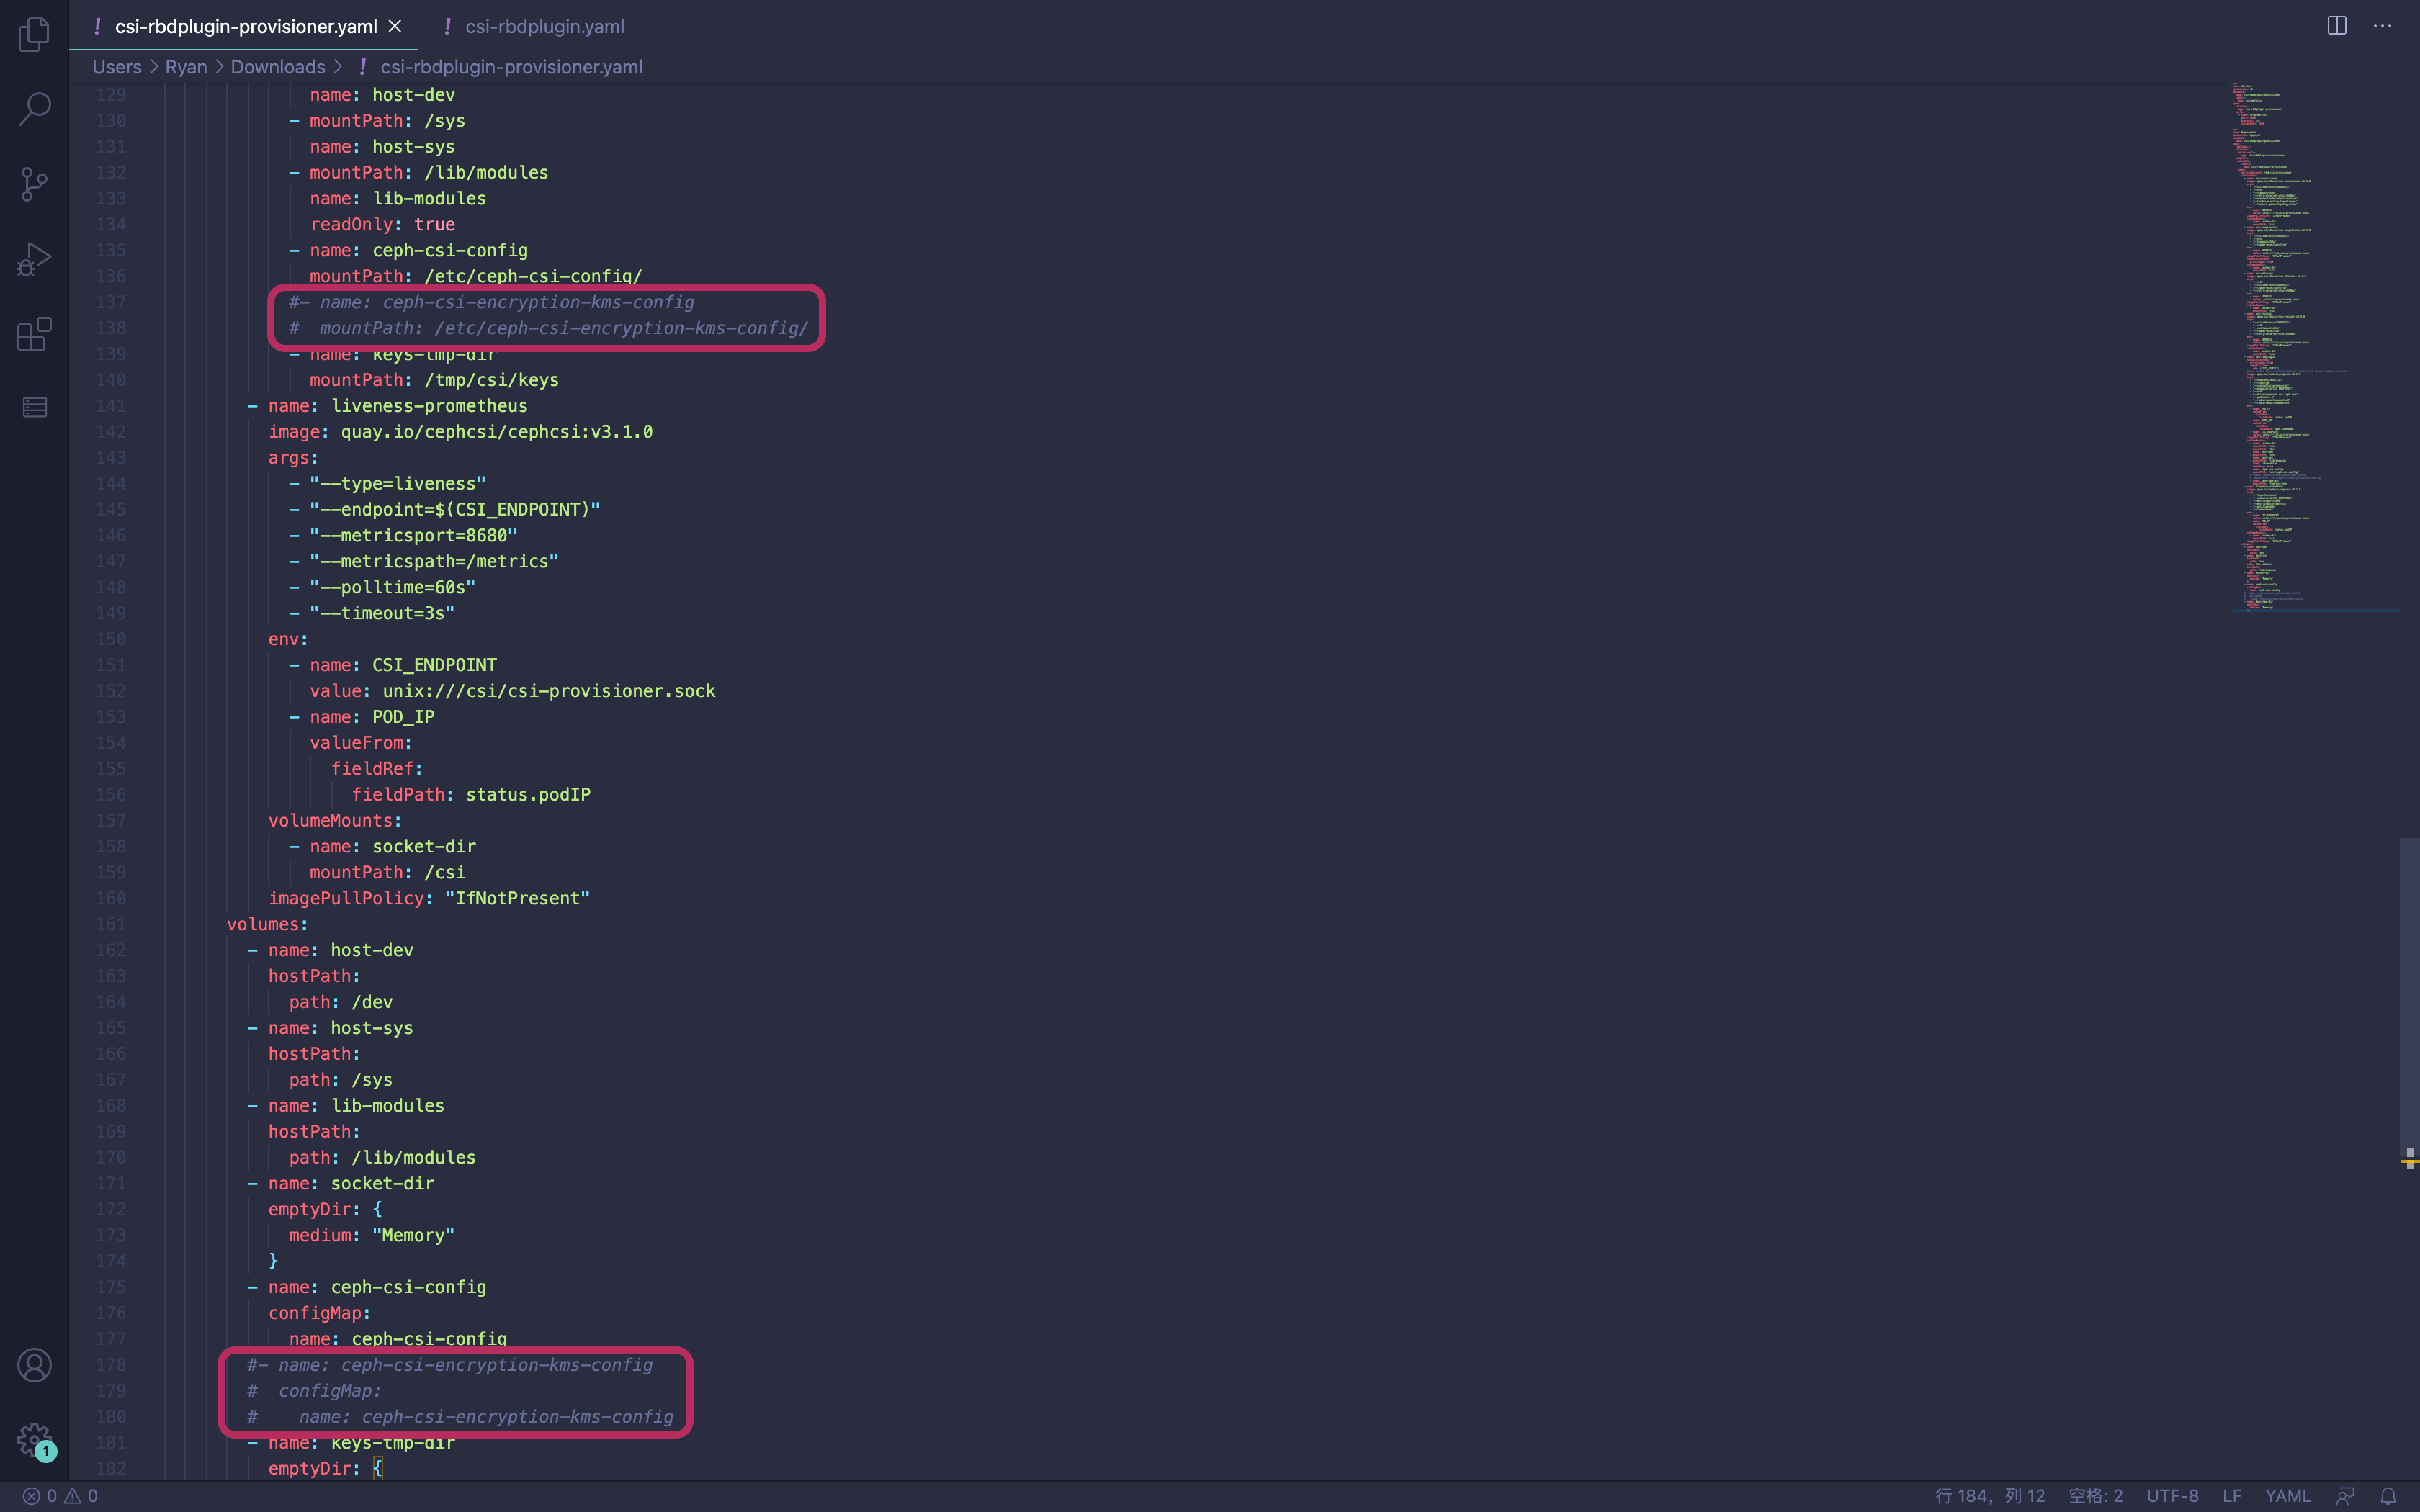
将 csi-rbdplugin-provisioner.yaml 和 csi-rbdplugin.yaml 中的 kms 部分配置注释掉:

部署 csi-rbdplugin-provisioner:
$ kubectl -n ceph-csi create -f csi-rbdplugin-provisioner.yaml
这里面包含了 6 个 Sidecar 容器,包括 external-provisioner、external-attacher、csi-resizer 和 csi-rbdplugin。
部署 RBD CSI driver#
最后部署 RBD CSI Driver:
$ kubectl -n ceph-csi create -f csi-rbdplugin.yaml
Pod 中包含两个容器:CSI node-driver-registrar 和 CSI RBD driver。
创建 Storageclass#
$ cat <<EOF > storageclass.yaml
---
apiVersion: storage.k8s.io/v1
kind: StorageClass
metadata:
   name: csi-rbd-sc
provisioner: rbd.csi.ceph.com
parameters:
   clusterID: 154c3d17-a9af-4f52-b83e-0fddd5db6e1b
   pool: kubernetes
   imageFeatures: layering
   csi.storage.k8s.io/provisioner-secret-name: csi-rbd-secret
   csi.storage.k8s.io/provisioner-secret-namespace: ceph-csi
   csi.storage.k8s.io/controller-expand-secret-name: csi-rbd-secret
   csi.storage.k8s.io/controller-expand-secret-namespace: ceph-csi
   csi.storage.k8s.io/node-stage-secret-name: csi-rbd-secret
   csi.storage.k8s.io/node-stage-secret-namespace: ceph-csi
   csi.storage.k8s.io/fstype: ext4
reclaimPolicy: Delete
allowVolumeExpansion: true
mountOptions:
   - discard
EOF
- 这里的
clusterID对应之前步骤中的fsid。 imageFeatures用来确定创建的 image 特征,如果不指定,就会使用 RBD 内核中的特征列表,但 Linux 不一定支持所有特征,所以这里需要限制一下。
3. 试用 ceph-csi#
Kubernetes 通过 PersistentVolume 子系统为用户和管理员提供了一组 API,将存储如何供应的细节从其如何被使用中抽象出来,其中 PV(PersistentVolume) 是实际的存储,PVC(PersistentVolumeClaim) 是用户对存储的请求。
下面通过官方仓库的示例来演示如何使用 ceph-csi。
先进入 ceph-csi 项目的 example/rbd 目录,然后直接创建 PVC:
$ kubectl apply -f pvc.yaml
查看 PVC 和申请成功的 PV:
$ kubectl get pvc
NAME      STATUS   VOLUME                                     CAPACITY   ACCESS MODES   STORAGECLASS   AGE
rbd-pvc   Bound    pvc-44b89f0e-4efd-4396-9316-10a04d289d7f   1Gi        RWO            csi-rbd-sc     8m21s

$ kubectl get pv
NAME                                       CAPACITY   ACCESS MODES   RECLAIM POLICY   STATUS   CLAIM                STORAGECLASS   REASON   AGE
pvc-44b89f0e-4efd-4396-9316-10a04d289d7f   1Gi        RWO            Delete           Bound    default/rbd-pvc      csi-rbd-sc              8m18s
再创建示例 Pod:
$ kubectl apply -f pod.yaml
进入 Pod 里面测试读写数据:
$ kubectl exec -it csi-rbd-demo-pod bash
root@csi-rbd-demo-pod:/# cd /var/lib/www/
root@csi-rbd-demo-pod:/var/lib/www# ls -l
total 4
drwxrwxrwx 3 root root 4096 Sep 14 09:09 html
root@csi-rbd-demo-pod:/var/lib/www# echo "https://icloudnative.io" > sealos.txt
root@csi-rbd-demo-pod:/var/lib/www# cat sealos.txt
https://icloudnative.io
列出 kubernetes pool 中的 rbd images:
$ rbd ls -p kubernetes
csi-vol-d9d011f9-f669-11ea-a3fa-ee21730897e6
查看该 image 的特征:
$ rbd info csi-vol-d9d011f9-f669-11ea-a3fa-ee21730897e6 -p kubernetes
rbd image 'csi-vol-d9d011f9-f669-11ea-a3fa-ee21730897e6':
	size 1 GiB in 256 objects
	order 22 (4 MiB objects)
	snapshot_count: 0
	id: 8da46585bb36
	block_name_prefix: rbd_data.8da46585bb36
	format: 2
	features: layering
	op_features:
	flags:
	create_timestamp: Mon Sep 14 09:08:27 2020
	access_timestamp: Mon Sep 14 09:08:27 2020
	modify_timestamp: Mon Sep 14 09:08:27 2020
可以看到对 image 的特征限制生效了,这里只有 layering。
实际上这个 image 会被挂载到 node 中作为一个块设备,到运行 Pod 的 Node 上可以通过 rbd 命令查看映射信息:
$ rbd showmapped
id pool       namespace image                                        snap device
0  kubernetes           csi-vol-d9d011f9-f669-11ea-a3fa-ee21730897e6 -    /dev/rbd0
在 node 上查看挂载信息:
$ lsblk -l|grep rbd
rbd0                                                                                               252:32   0     1G  0 disk /var/lib/kubelet/pods/15179e76-e06e-4c0e-91dc-e6ecf2119f4b/volumes/kubernetes.io~csi/pvc-44b89f0e-4efd-4396-9316-10a04d289d7f/mount
在 容器中查看挂载信息:
$ kubectl exec -it csi-rbd-demo-pod bash
root@csi-rbd-demo-pod:/# lsblk -l|grep rbd
rbd0                                                                                               252:32   0     1G  0 disk /var/lib/www/html
一切正常!
4. 试用卷快照功能#
要想使用卷快照(Volume Snapshot)功能,首先需要在 apiserver 的 --feature-gates 参数中加上 VolumeSnapshotDataSource=true,不过从 Kubernetes 1.17 开始这个特性已经默认开启了,不需要再手动添加。
卷快照功能不是 Kubernetes 的核心 API,它是通过 CRD 来实现的,同时还需要一个卷快照控制器(需要单独部署)。卷快照控制器和 CRD 独立于特定的 CSI 驱动,无论 Kubernetes 集群中部署了多少 CSI 驱动,每个集群都必须只运行一个卷快照控制器和一组卷快照 CRD。
卷快照 CRD 和控制器都在这个项目中:https://github.com/kubernetes-csi/external-snapshotter。
将 external-snapshotter 项目拉取到本地:
$ git clone --depth 1 https://github.com/kubernetes-csi/external-snapshotter
创建卷快照 CRD:
$ cd external-snapshotter
$ kubectl create -f client/config/crd
将卷快照部署清单中的 namespace 改成 kube-system:
$ sed -i "s/namespace: default/namespace: kube-system/g" $(grep -rl "namespace: default" deploy/kubernetes/snapshot-controller)
部署卷快照控制器:
$ kubectl create -f deploy/kubernetes/snapshot-controller
现在可以回到 ceph-csi 的 examples/rbd 目录试用卷快照功能了。先将 snapshotclass.yaml 中的 clusterID 改成 Ceph 的集群 ID:
---
apiVersion: snapshot.storage.k8s.io/v1beta1
kind: VolumeSnapshotClass
metadata:
  name: csi-rbdplugin-snapclass
driver: rbd.csi.ceph.com
parameters:
  # String representing a Ceph cluster to provision storage from.
  # Should be unique across all Ceph clusters in use for provisioning,
  # cannot be greater than 36 bytes in length, and should remain immutable for
  # the lifetime of the StorageClass in use.
  # Ensure to create an entry in the configmap named ceph-csi-config, based on
  # csi-config-map-sample.yaml, to accompany the string chosen to
  # represent the Ceph cluster in clusterID below
  clusterID: 154c3d17-a9af-4f52-b83e-0fddd5db6e1b

  # Prefix to use for naming RBD snapshots.
  # If omitted, defaults to "csi-snap-".
  # snapshotNamePrefix: "foo-bar-"

  csi.storage.k8s.io/snapshotter-secret-name: csi-rbd-secret
  csi.storage.k8s.io/snapshotter-secret-namespace: ceph-csi
deletionPolicy: Delete
然后创建 snapshot class:
$ kubectl create -f snapshotclass.yaml
查看 snapshot class 是否创建成功:
$ kubectl get volumesnapshotclass
NAME                      DRIVER             DELETIONPOLICY   AGE
csi-rbdplugin-snapclass   rbd.csi.ceph.com   Delete           2s
还记得上一节创建的 rbd-pvc 吗,现在我们可以直接创建该 PVC 的快照来进行备份了,卷快照的配置清单如下:
---
apiVersion: snapshot.storage.k8s.io/v1beta1
kind: VolumeSnapshot
metadata:
  name: rbd-pvc-snapshot
spec:
  volumeSnapshotClassName: csi-rbdplugin-snapclass
  source:
    persistentVolumeClaimName: rbd-pvc
通过该配置清单创建 PVC rbd-pvc 的快照:
$ kubectl create -f snapshot.yaml
验证快照是否创建成功:
$ kubectl get volumesnapshot
NAME               READYTOUSE   SOURCEPVC   SOURCESNAPSHOTCONTENT   RESTORESIZE   SNAPSHOTCLASS             SNAPSHOTCONTENT                                    CREATIONTIME   AGE
rbd-pvc-snapshot   false        rbd-pvc                                           csi-rbdplugin-snapclass   snapcontent-9011a05f-dc34-480d-854e-814b0b1b245d                  16s
在 Ceph 集群中可以看到新创建快照的 image 名称:
$ rbd ls -p kubernetes
csi-snap-4da66c2e-f707-11ea-ba22-aaa4b0fc674d
csi-vol-d9d011f9-f669-11ea-a3fa-ee21730897e6
查看新创建的快照信息:
$ rbd snap ls csi-snap-4da66c2e-f707-11ea-ba22-aaa4b0fc674d -p kubernetes
SNAPID NAME                                          SIZE  PROTECTED TIMESTAMP
     9 csi-snap-4da66c2e-f707-11ea-ba22-aaa4b0fc674d 1 GiB           Tue Sep 15 03:55:34 2020
快照也是 pool 中的一个 image,所以可以用常规的命令查看快照的详细信息:
$ rbd info csi-snap-4da66c2e-f707-11ea-ba22-aaa4b0fc674d -p kubernetes
rbd image 'csi-snap-4da66c2e-f707-11ea-ba22-aaa4b0fc674d':
	size 1 GiB in 256 objects
	order 22 (4 MiB objects)
	snapshot_count: 1
	id: 66cdcd259693
	block_name_prefix: rbd_data.66cdcd259693
	format: 2
	features: layering, deep-flatten, operations
	op_features: clone-child
	flags:
	create_timestamp: Tue Sep 15 03:55:33 2020
	access_timestamp: Tue Sep 15 03:55:33 2020
	modify_timestamp: Tue Sep 15 03:55:33 2020
	parent: kubernetes/csi-vol-d9d011f9-f669-11ea-a3fa-ee21730897e6@33d02b70-bc82-4def-afd3-b7a40567a8db
	overlap: 1 GiB
如果想恢复快照,可以直接基于快照创建 PVC,配置清单内容如下:
---
apiVersion: v1
kind: PersistentVolumeClaim
metadata:
  name: rbd-pvc-restore
spec:
  storageClassName: csi-rbd-sc
  dataSource:
    name: rbd-pvc-snapshot
    kind: VolumeSnapshot
    apiGroup: snapshot.storage.k8s.io
  accessModes:
    - ReadWriteOnce
  resources:
    requests:
      storage: 1Gi
创建 PVC:
$ kubectl apply -f pvc-restore.yaml
查看 PVC 和申请成功的 PV:
$ kubectl get pvc
NAME              STATUS   VOLUME                                     CAPACITY   ACCESS MODES   STORAGECLASS   AGE
rbd-pvc           Bound    pvc-44b89f0e-4efd-4396-9316-10a04d289d7f   1Gi        RWO            csi-rbd-sc     22h
rbd-pvc-restore   Bound    pvc-e0ef4f6a-03dc-4c3b-a9c2-db03baf35ab0   1Gi        RWO            csi-rbd-sc     2m45s

$ kubectl get pv
pvc-44b89f0e-4efd-4396-9316-10a04d289d7f   1Gi        RWO            Delete           Bound    default/rbd-pvc           csi-rbd-sc              22h
pvc-e0ef4f6a-03dc-4c3b-a9c2-db03baf35ab0   1Gi        RWO            Delete           Bound    default/rbd-pvc-restore   csi-rbd-sc              2m14s
可以看到 PV 申请成功了,对应到 Ceph 里面就多了一个 RBD image:
$ rbd ls -p kubernetes
csi-snap-4da66c2e-f707-11ea-ba22-aaa4b0fc674d
csi-vol-d9d011f9-f669-11ea-a3fa-ee21730897e6
csi-vol-e32d46bd-f722-11ea-a3fa-ee21730897e6
创建一个新 Pod,使用该 PV 作为持久化存储:
$ kubectl apply -f pod-restore.yaml
待 Pod 运行成功后,到运行 Pod 的 Node 上可以通过 rbd 命令查看映射信息:
$ rbd showmapped
id pool       namespace image                                        snap device
0  kubernetes           csi-vol-d9d011f9-f669-11ea-a3fa-ee21730897e6 -    /dev/rbd0
1  kubernetes           csi-vol-e32d46bd-f722-11ea-a3fa-ee21730897e6 -    /dev/rbd1
5. 清理#
结束对示例应用的体验后,就可以使用下面的命令来完成应用的删除和清理了:
$ kubectl delete -f pod-restore.yaml
$ kubectl delete -f pvc-restore.yaml
$ kubectl delete -f snapshot.yaml
$ kubectl delete -f snapshotclass.yaml
$ kubectl delete -f pod.yaml
$ kubectl delete -f pvc.yaml